.png)
9 Lighting Hacks for Clean and Consistent Product Photos
- EtherArts Photography
- Jul 25, 2025
- 3 min read

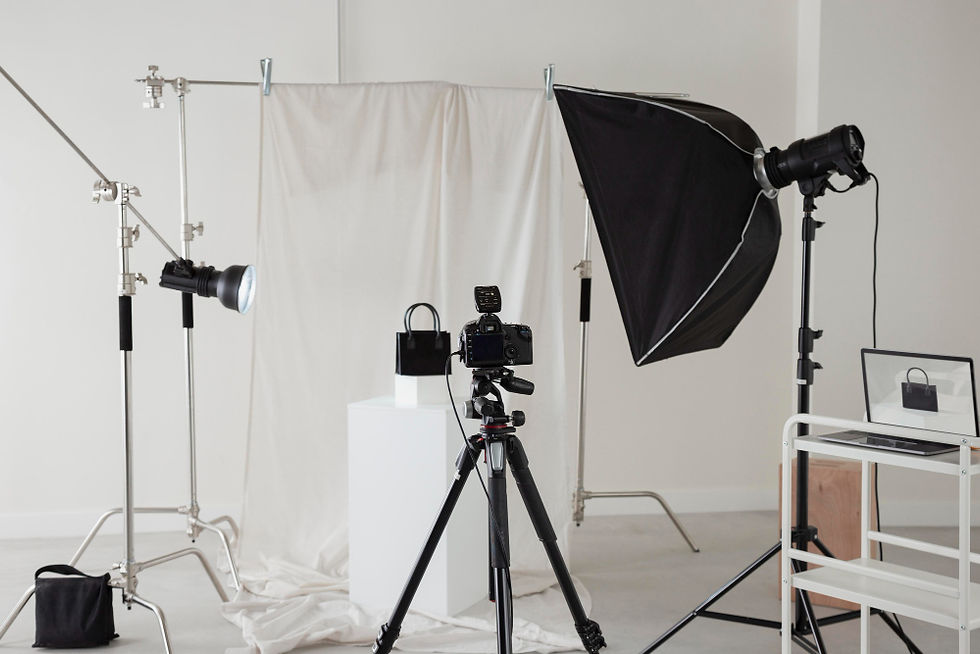
When it comes to ecommerce product photography, lighting isn’t just important—it’s everything. No matter how great your product is, if it’s poorly lit, it’s going to look flat, dull, or cheap. As a professional product photographer working with brands across the U.S., I’ve seen firsthand how the right lighting setup can transform a basic image into a powerful selling tool. Whether you're shooting jewelry, skincare, electronics, or home goods, these nine lighting hacks will help you create clean, consistent product photos that look professional and build buyer trust.
1. Use Diffused Light, Not Direct Light
Direct light causes harsh shadows, blown-out highlights, and uneven exposure. Use a softbox, umbrella, or even a DIY diffuser (like parchment paper or a shower curtain) to soften the light. This will wrap the light around your product and give it a smoother, more even look.
2. Light From the Side or at a 45° Angle
One of the easiest ways to add depth and dimension is to light your product from the side or at a 45-degree angle. It creates subtle shadows that define the shape and texture without overpowering the image. Straight-on lighting often makes products look flat.
3. Bounce Light to Fill Shadows
Use white foam boards, reflectors, or even printer paper to bounce light into shadowy areas. This keeps the image bright and balanced without needing another light source. It's especially useful when photographing on white backgrounds where you want minimal shadow.
4. Use Consistent Color Temperature
Mixing warm and cool light sources is a rookie mistake that leads to color inconsistencies. Stick to one color temperature—typically daylight-balanced (around 5500K)—across all your lights. Your editing workflow will thank you.
5. Shoot in Natural Light Near a Window (When Possible)
Natural light is free, flattering, and great for smaller setups. Set your product near a large window, diffuse the light with a sheer curtain, and shoot during mid-morning or late afternoon when the light is soft. Avoid harsh noon sunlight unless you're going for a very specific look.
6. Use a Light Tent for Reflective Products
Shooting shiny items like glass, watches, or jewelry? A light tent helps reduce harsh reflections and wraps the product in even lighting. It gives you that "floating in clean space" effect without endless retouching.
7. Always Use a Tripod
This isn’t directly about lighting, but it’s essential for consistency. Keeping your camera steady allows you to use lower shutter speeds with artificial or low lighting without introducing blur. Plus, it keeps your framing identical when shooting multiple products.
8. Use Backlighting to Highlight Texture
Want your product to look premium? Try adding a subtle light behind the product to create separation from the background and bring out fine texture. It works wonders for fabrics, packaging, and materials with a bit of texture.
9. Don’t Rely on Auto Exposure
Your camera doesn’t know you’re shooting a white shirt on a white background or a black speaker on a black table. Use manual mode to control your exposure settings, or at least adjust the exposure compensation. This ensures your product isn’t underexposed or blown out just because your camera is guessing.
Final Thoughts
Lighting might seem intimidating at first, but once you get the basics down, it becomes your best friend. These simple hacks can take your product photography from passable to polished—without a Hollywood-level studio. Whether you’re a small business owner or building a brand from your garage, mastering lighting is one of the smartest moves you can make. Clean, consistent photos don’t just look good—they help you sell more. And that’s what great product photography is all about.


Comments